Back to Home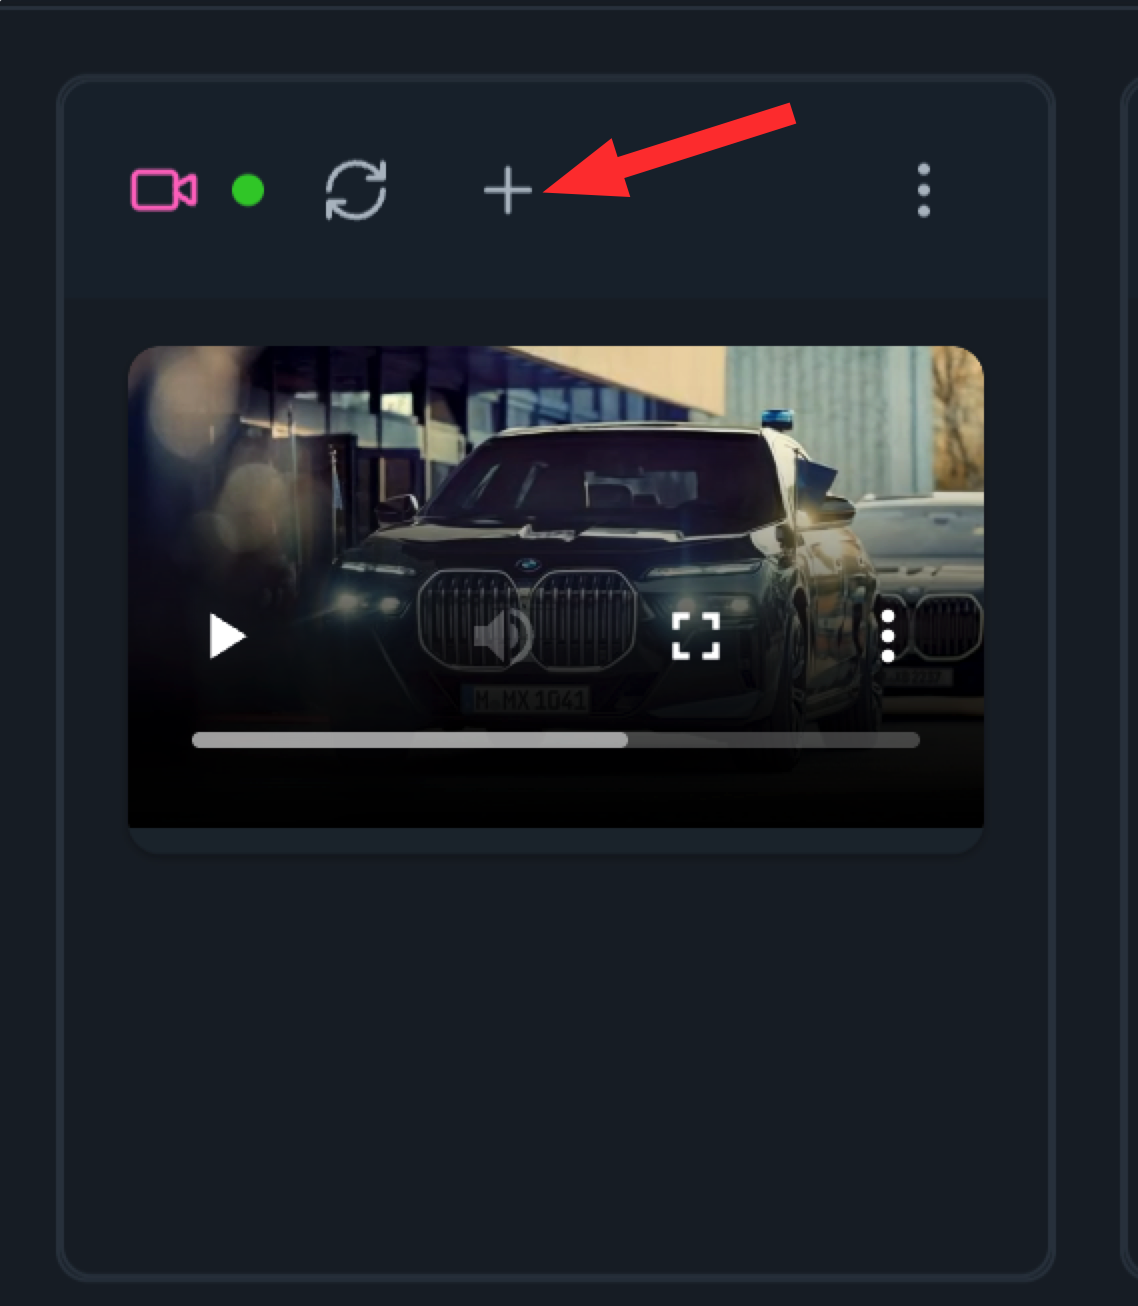
Timeline Editor Guide
Master the timeline editor to create professional videos, presentations, and multimedia content. Learn how to arrange, edit, and export your AI-generated media.
1
Add Media to Timeline
Start by adding media to your timeline. You can add images, videos, audio files, and more from your workspace or projects.
- 1. Click on the plus button to add media to the timeline
2
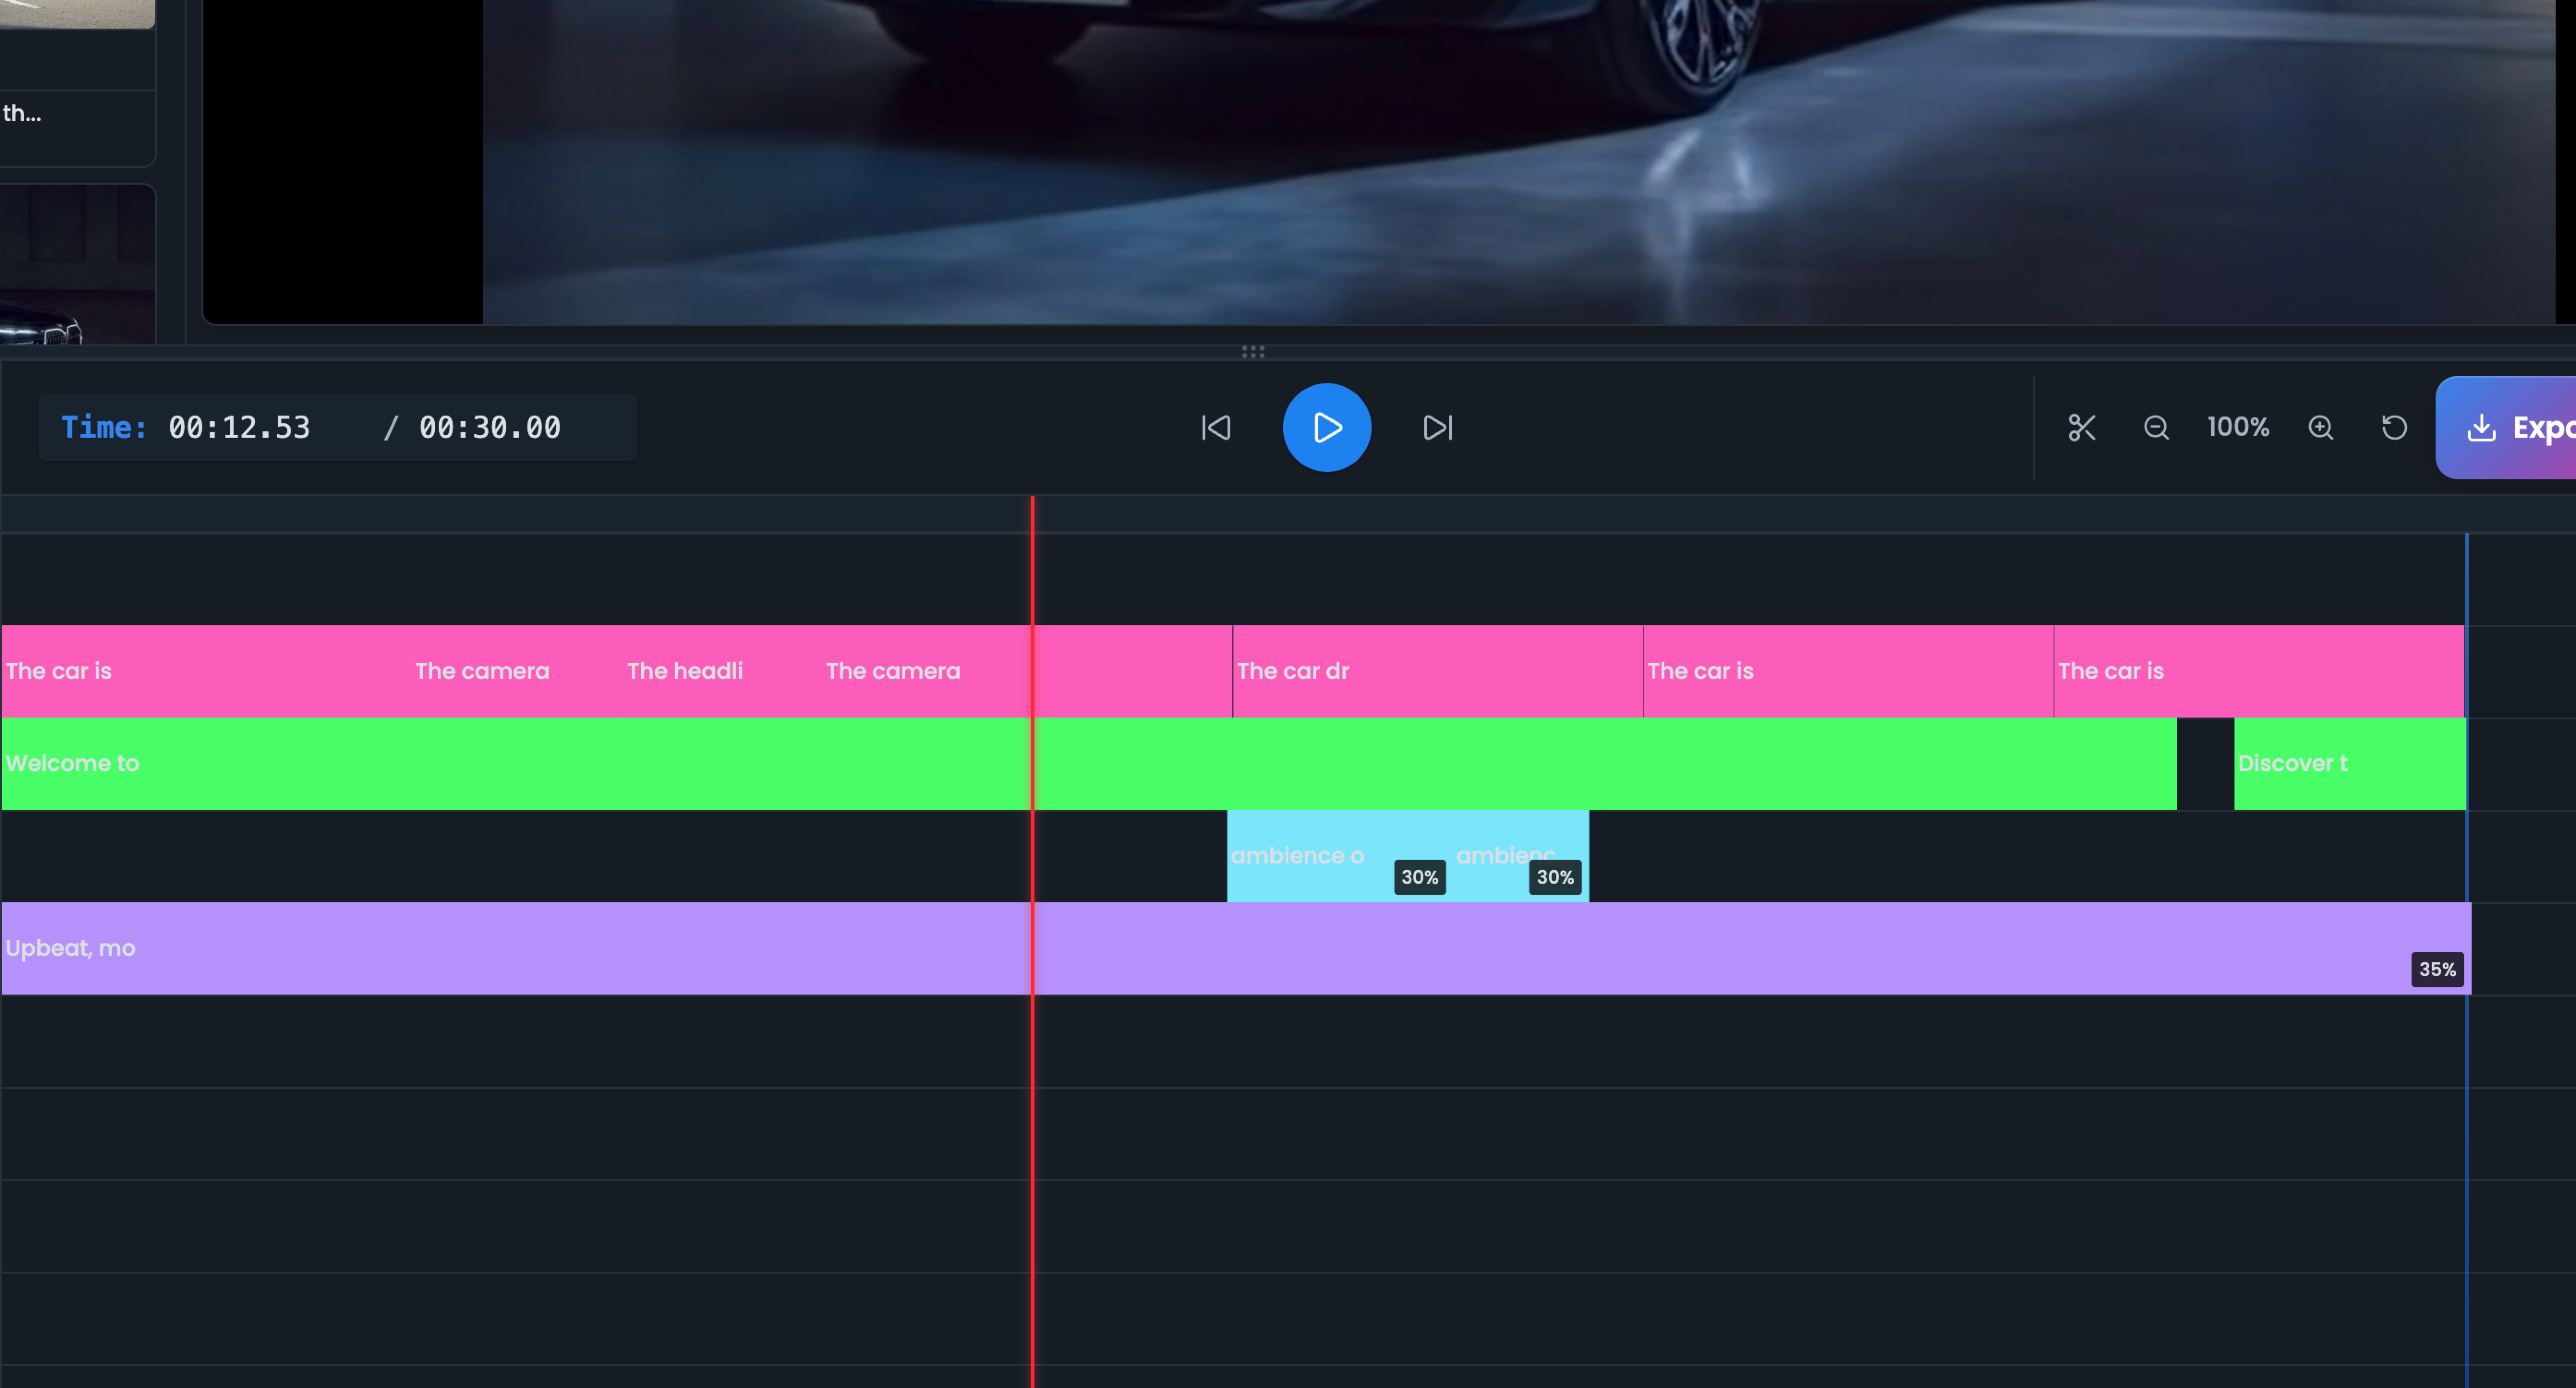
Arrange on Timeline
Organize your media on the timeline by dragging and dropping clips into the desired order. Create sequences, layer multiple elements, and build your story.
- 1. Drag and drop arrangement
- 2. Create sequences
- 3. Layer multiple elements
3
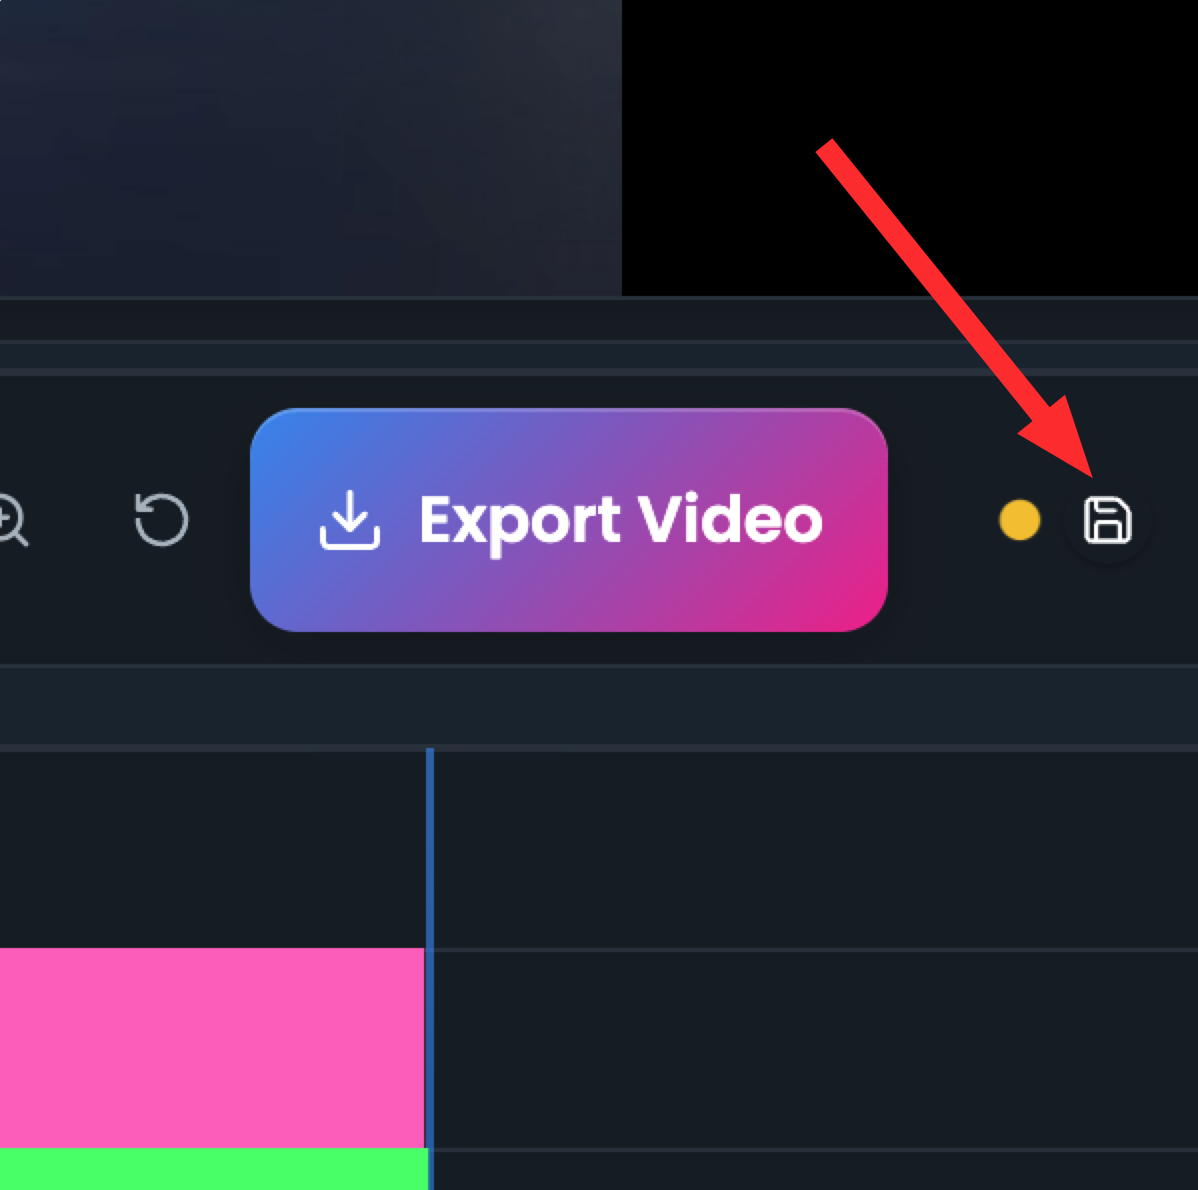
Save Your Edit
Remember to save your edits
- 1. Save your edits
- 2. Keep your progress safe
4
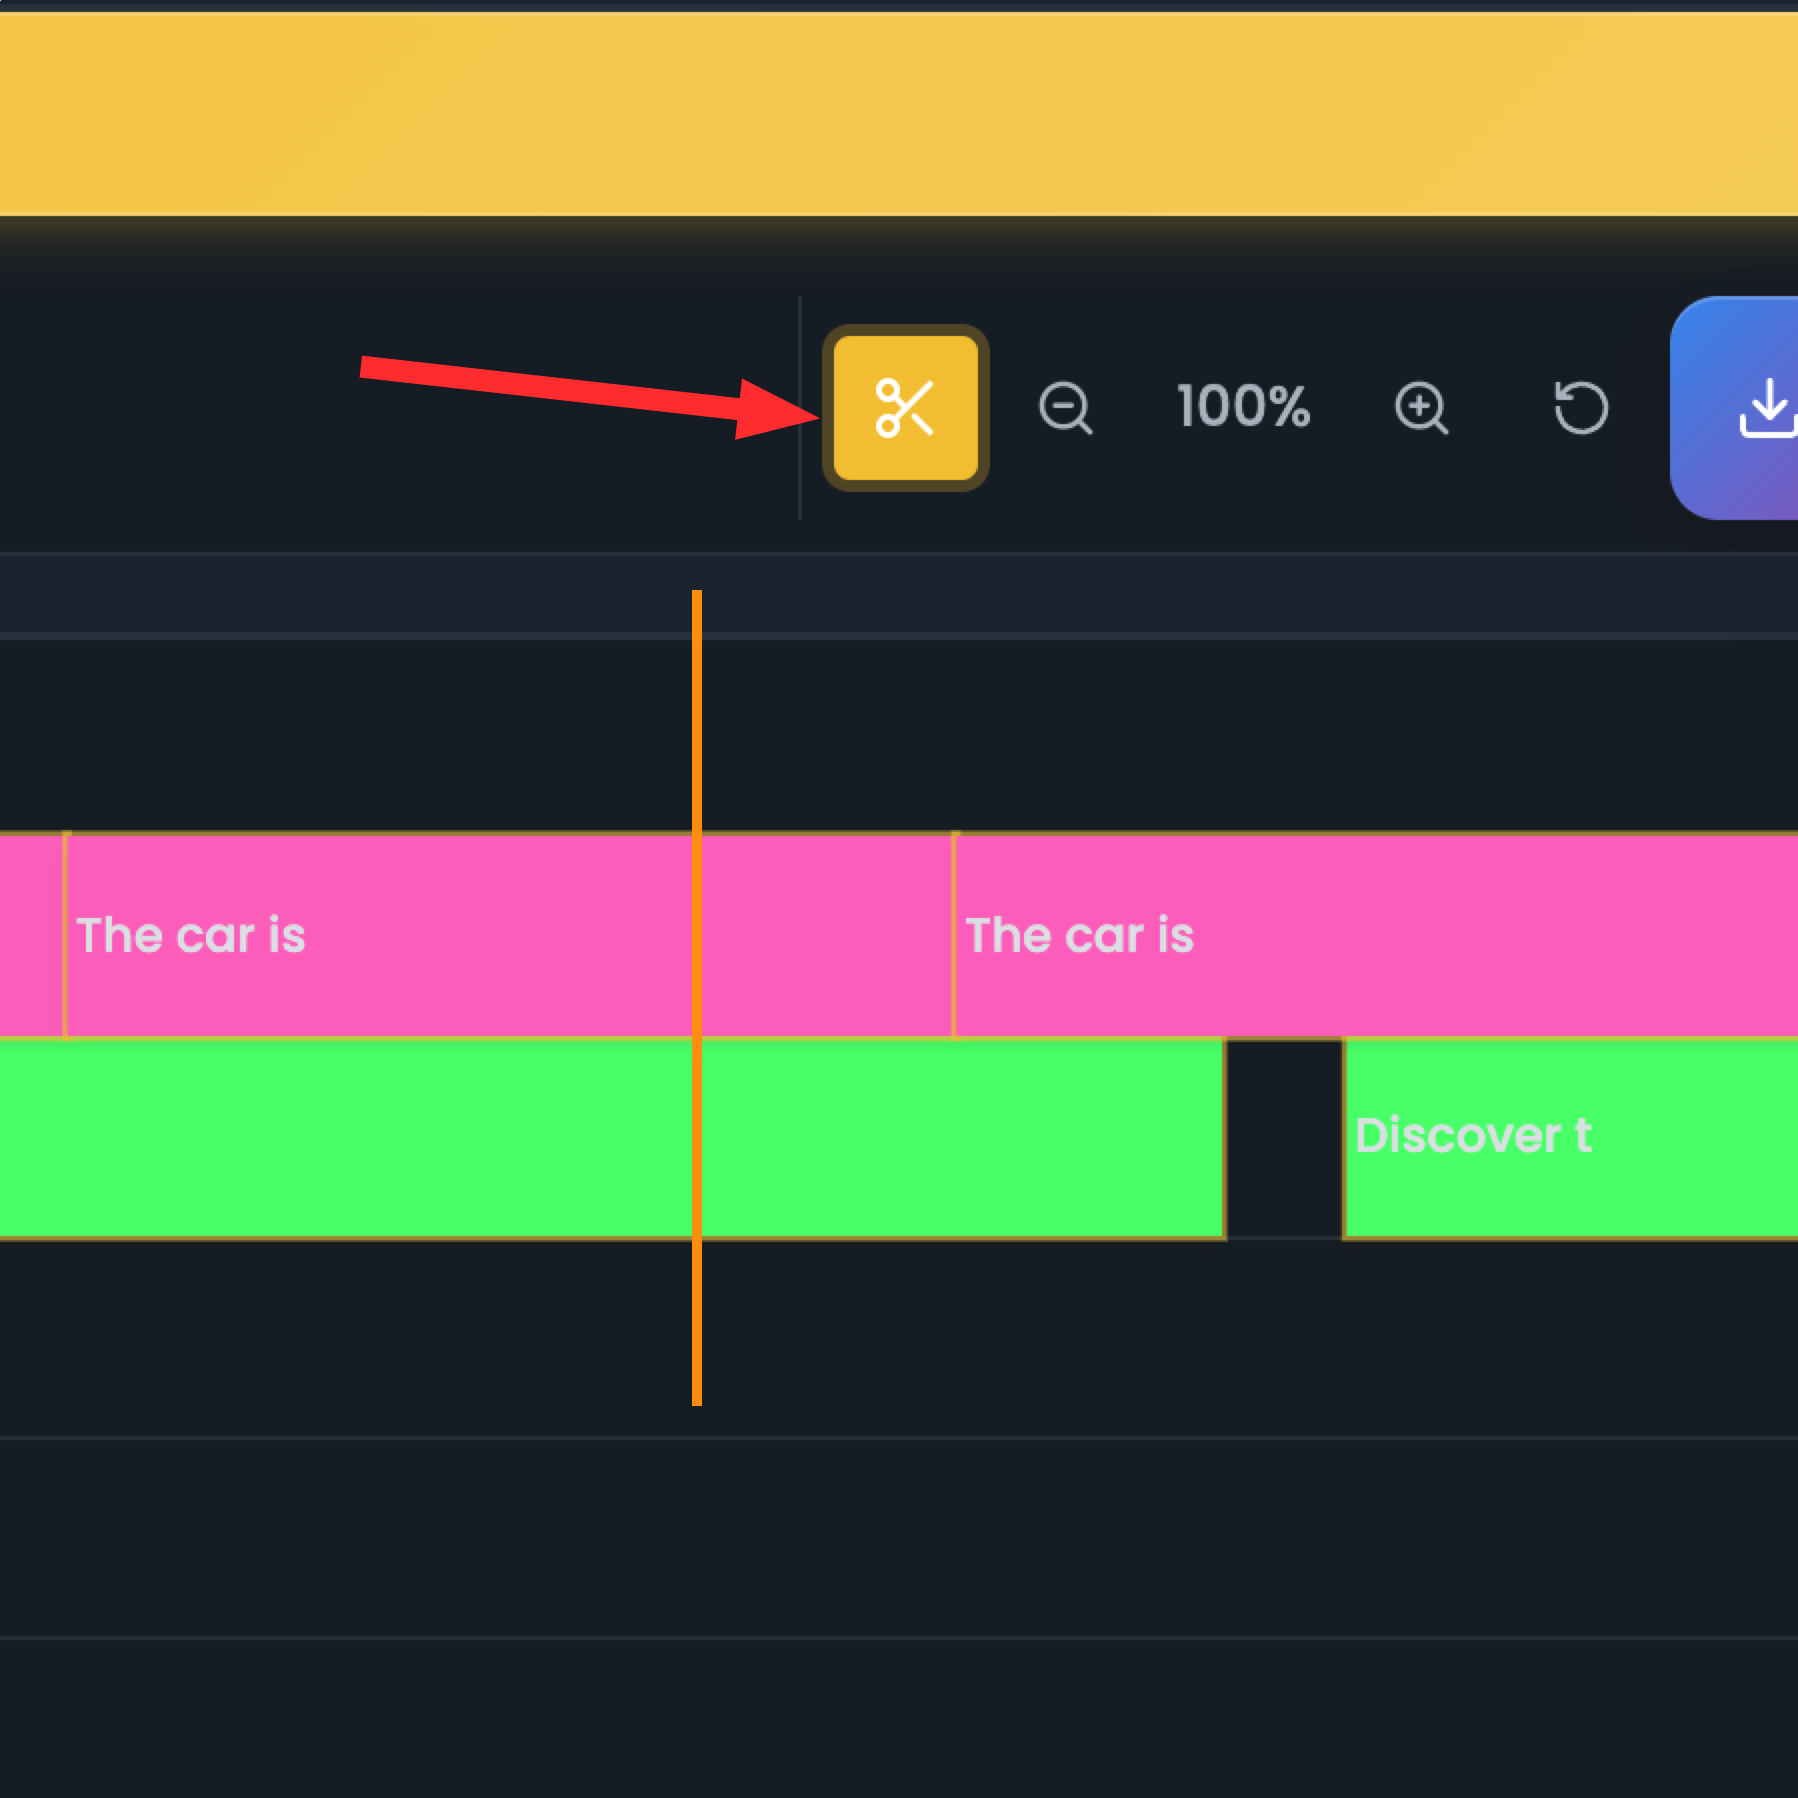
Edit and Trim
Use the timeline editor to trim, cut, and adjust your media clips. Fine-tune timing, remove unwanted sections, and perfect your content.
- 1. Click on the trim button to edit the media
- 2. Cut and split clips
- 3. Click 'ESC' button to exit trim mode
5
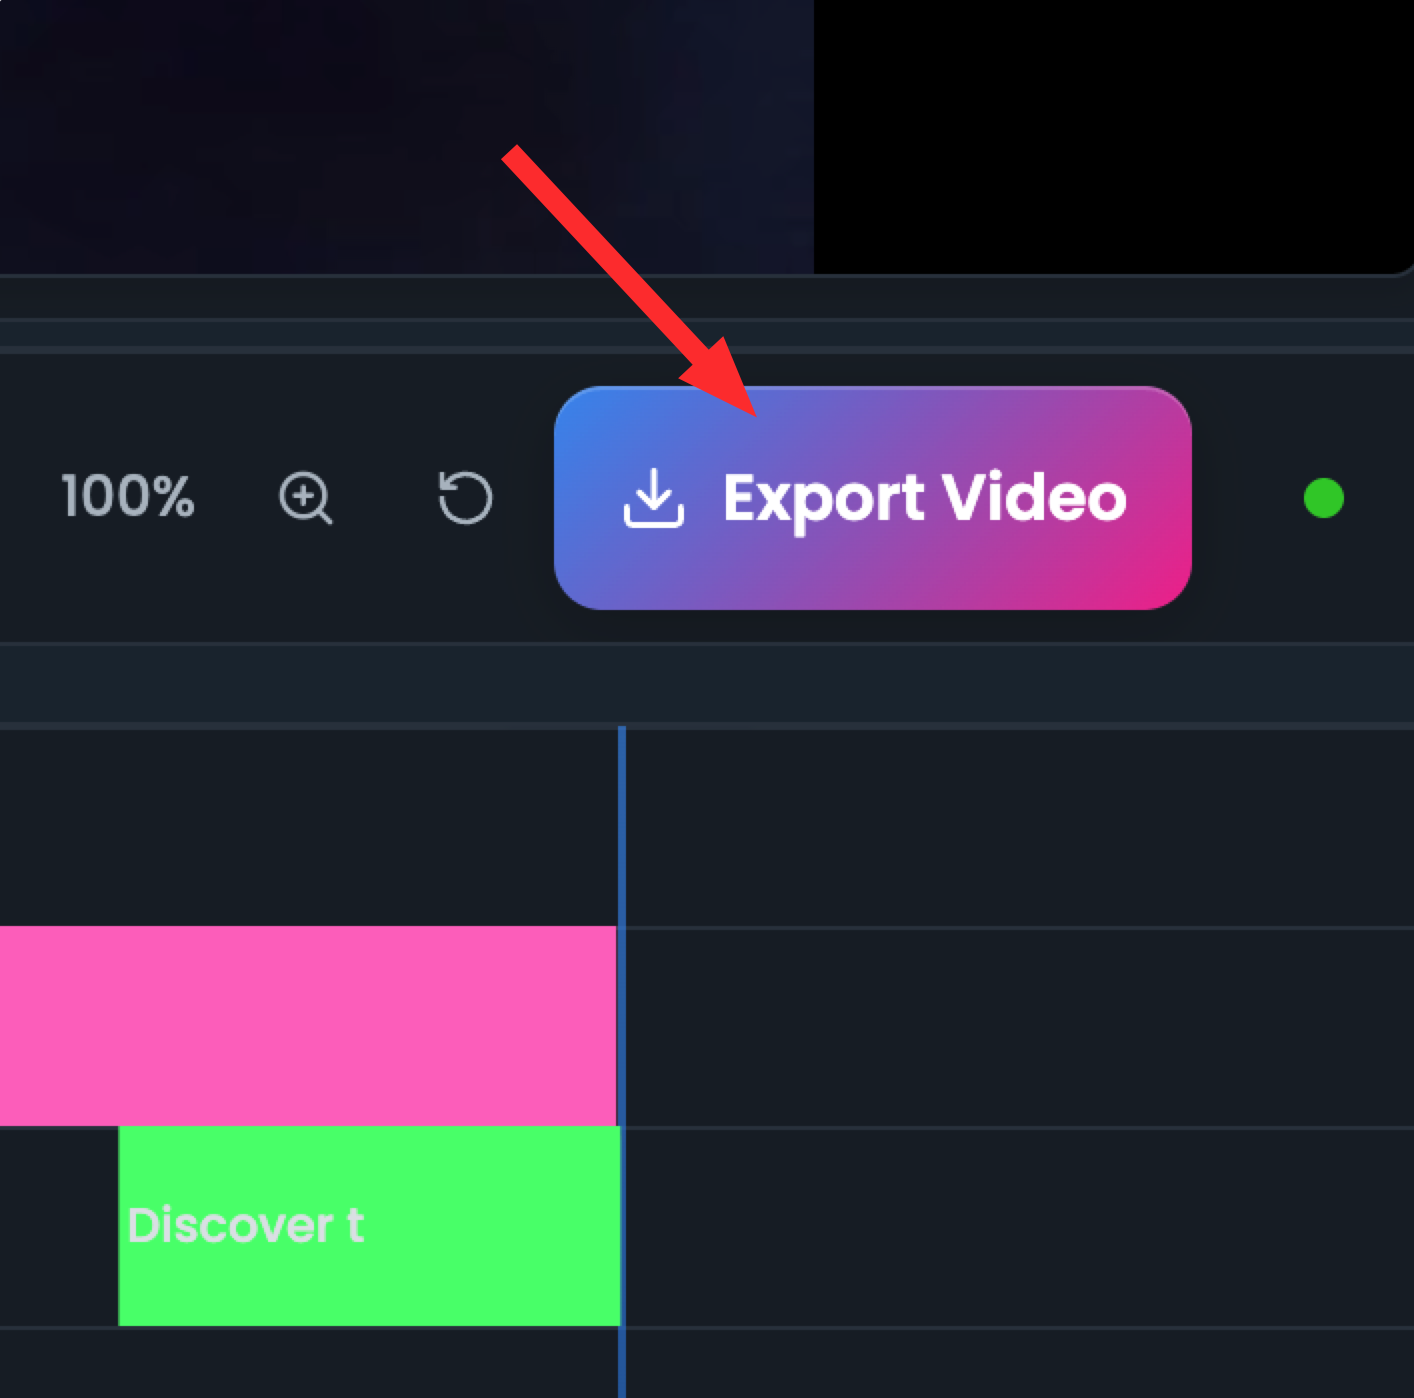
Export Your Project
When you're satisfied with your timeline, export your project in various formats. Share your creations or import them into other applications.
- 1. Save you changes
- 2. Click on the export button to export your project
- 3. It will take a few seconds to export your project (we use GPU acceleration to speed up the export processing)
6
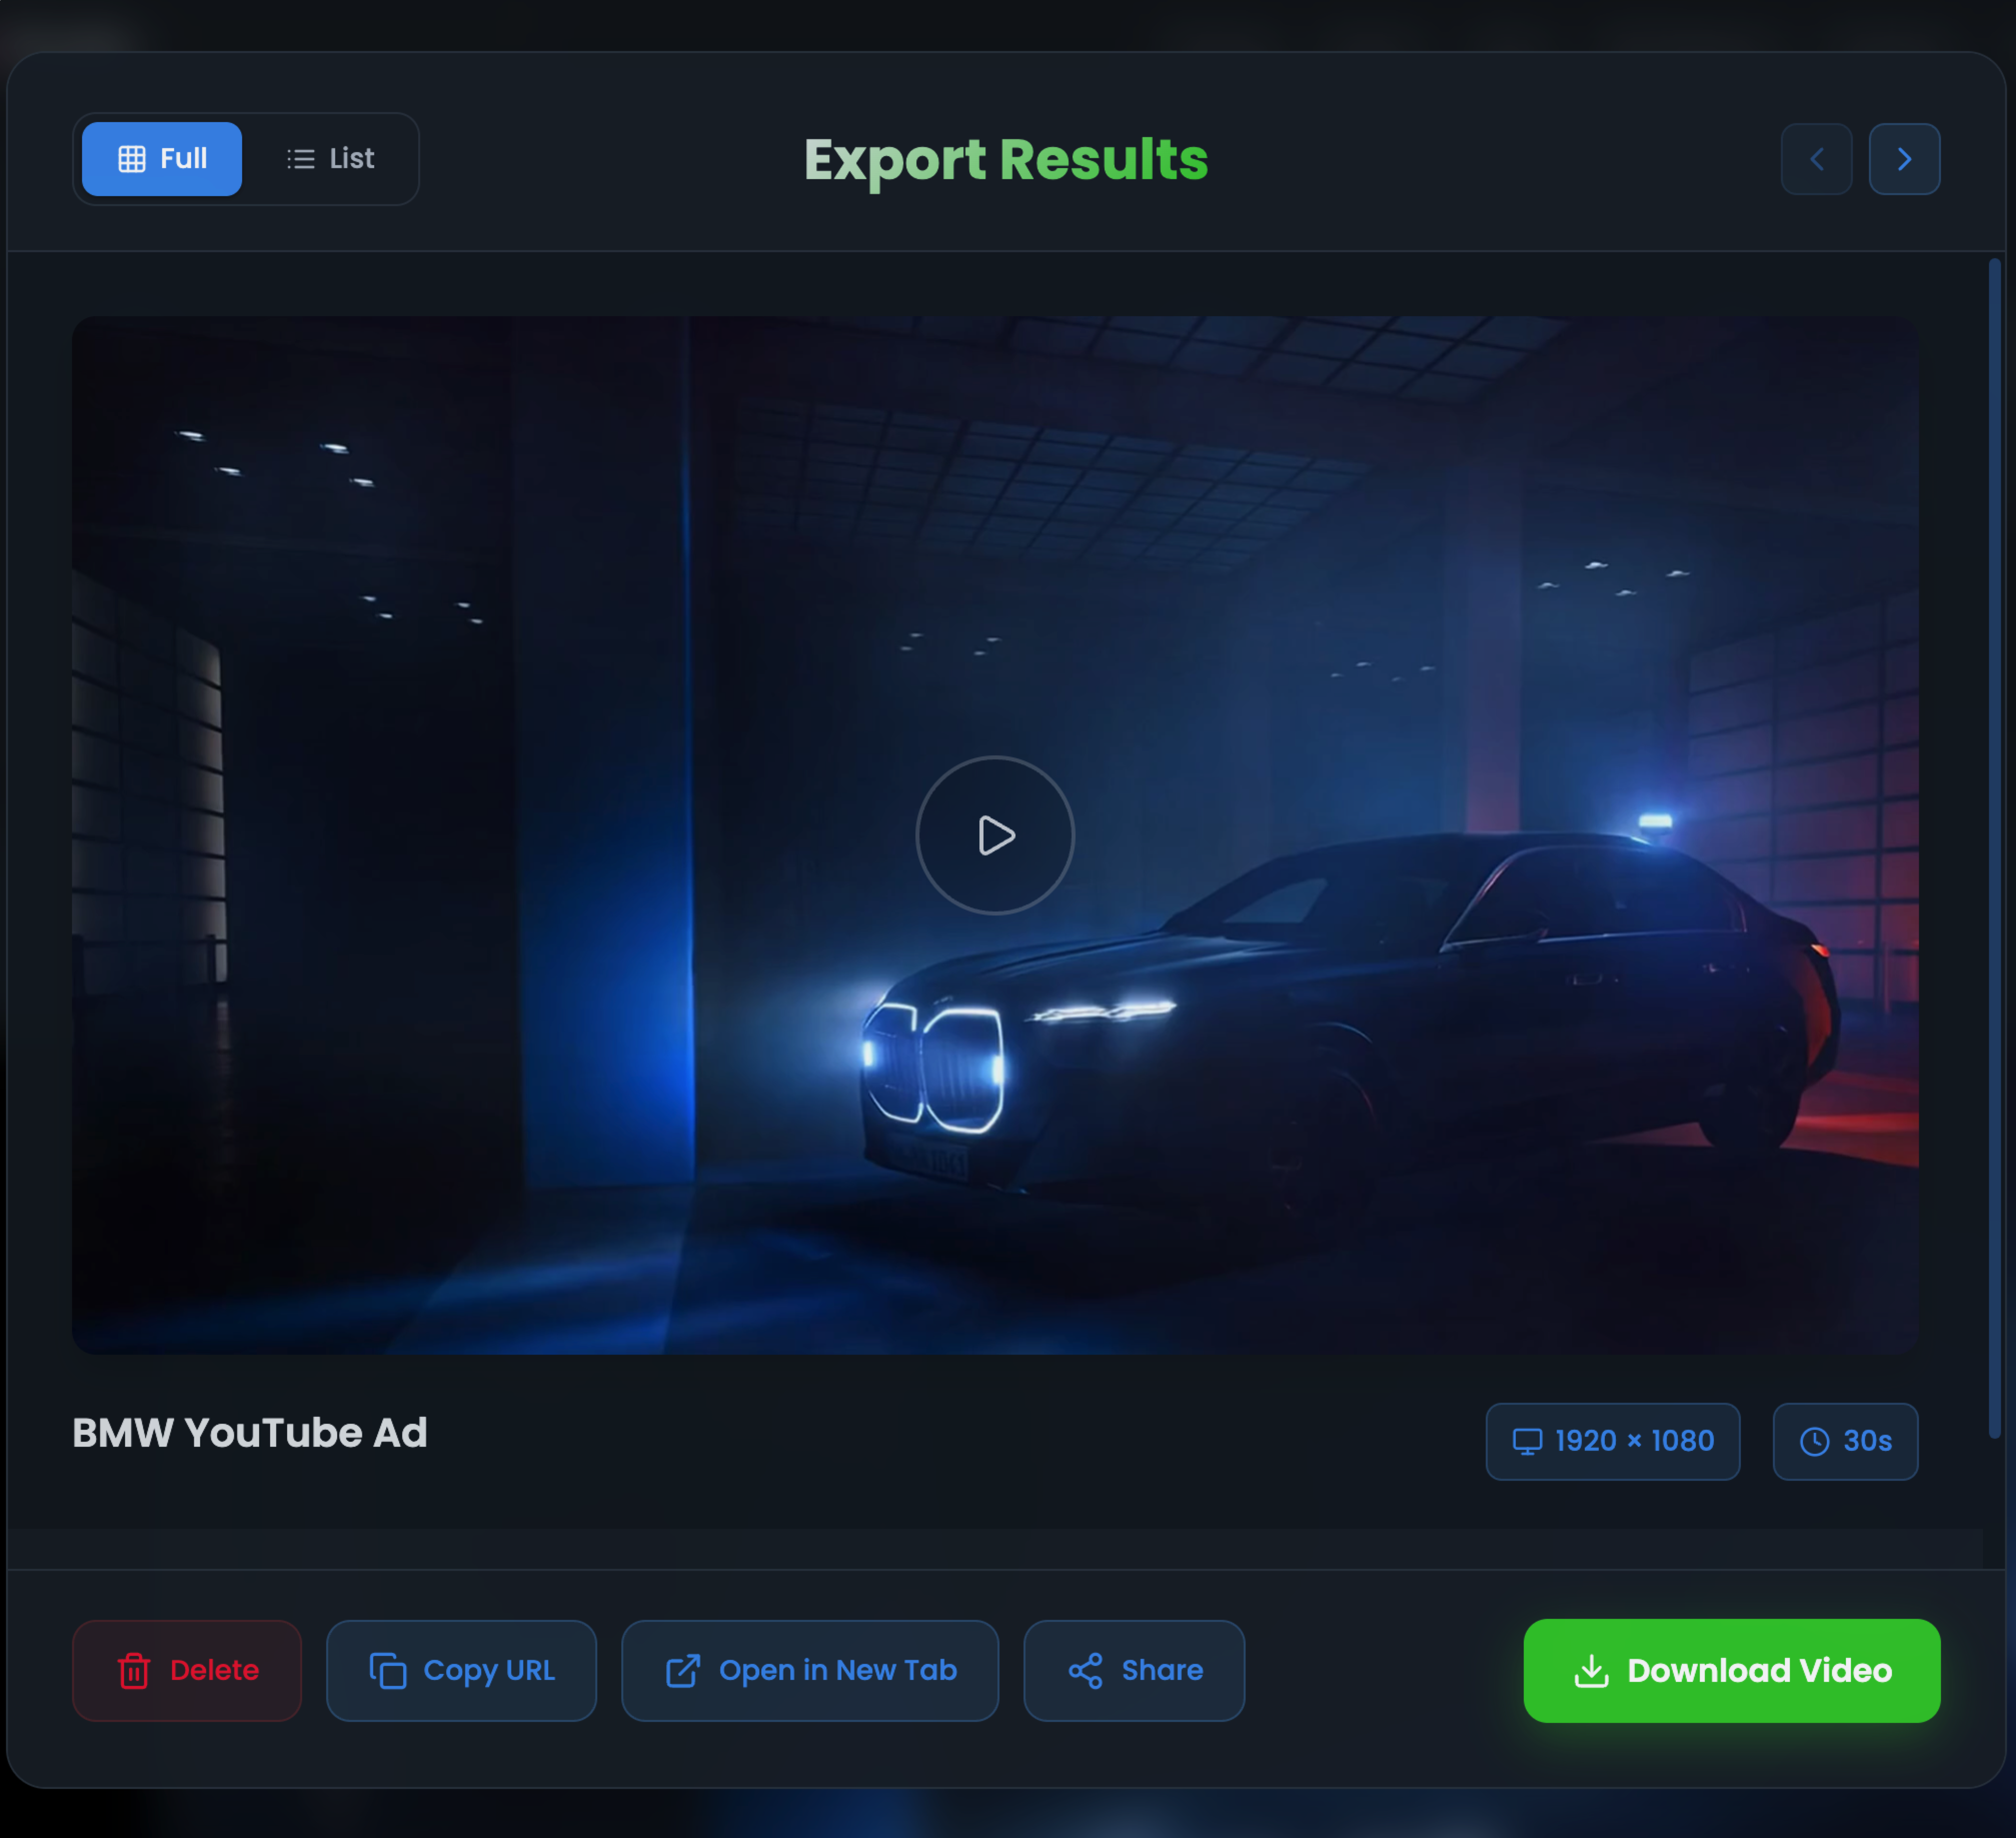
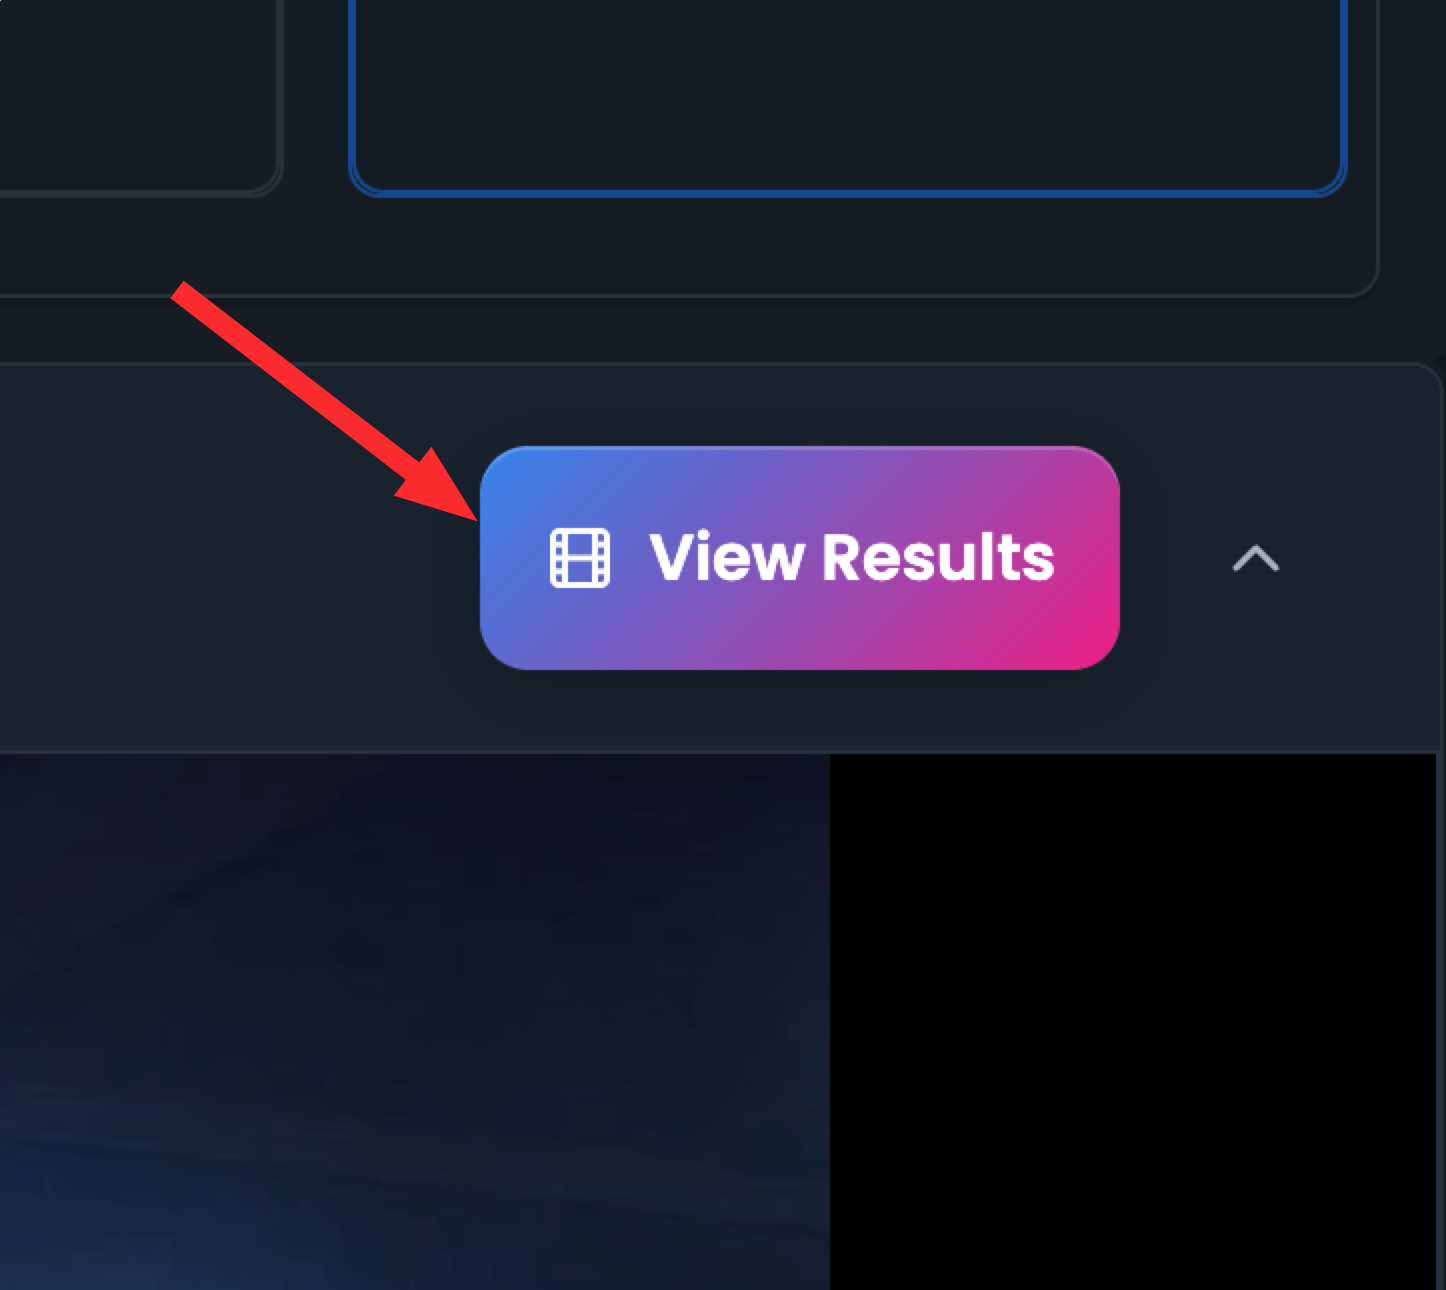
View The Results
When you're satisfied with your timeline, view the results of your project.
- 1. Click on the 'View Results' button to view the final video
- 2. You can also download the video to your computer
Ready to Edit Your Timeline?
Jump into your projects and start editing amazing movies with your AI-generated media.